Jekyll으로 블로그 만들기
jekyll 설치
gem install jekyll
jeykell 블성그 생성
jekyll new myblog
jekyll 3.3.0 | Error: bundler이런 error가 발생한다면gem install bundler으로 bundler을 설치해준다. (당연히 발생한다. 설치 안했으니까!) Jekyll 한글 페이지는 업데이트 안되어있음. 영문에서는 jekyll과 bundler를 함께 설치하라고 나와있다.
jekyll 블로그 실행
cd myblog
jekyll serve --watch
--watch는 사이트에 변경사항이 생기면 브라우저에서 바로 확인할 수 있다.
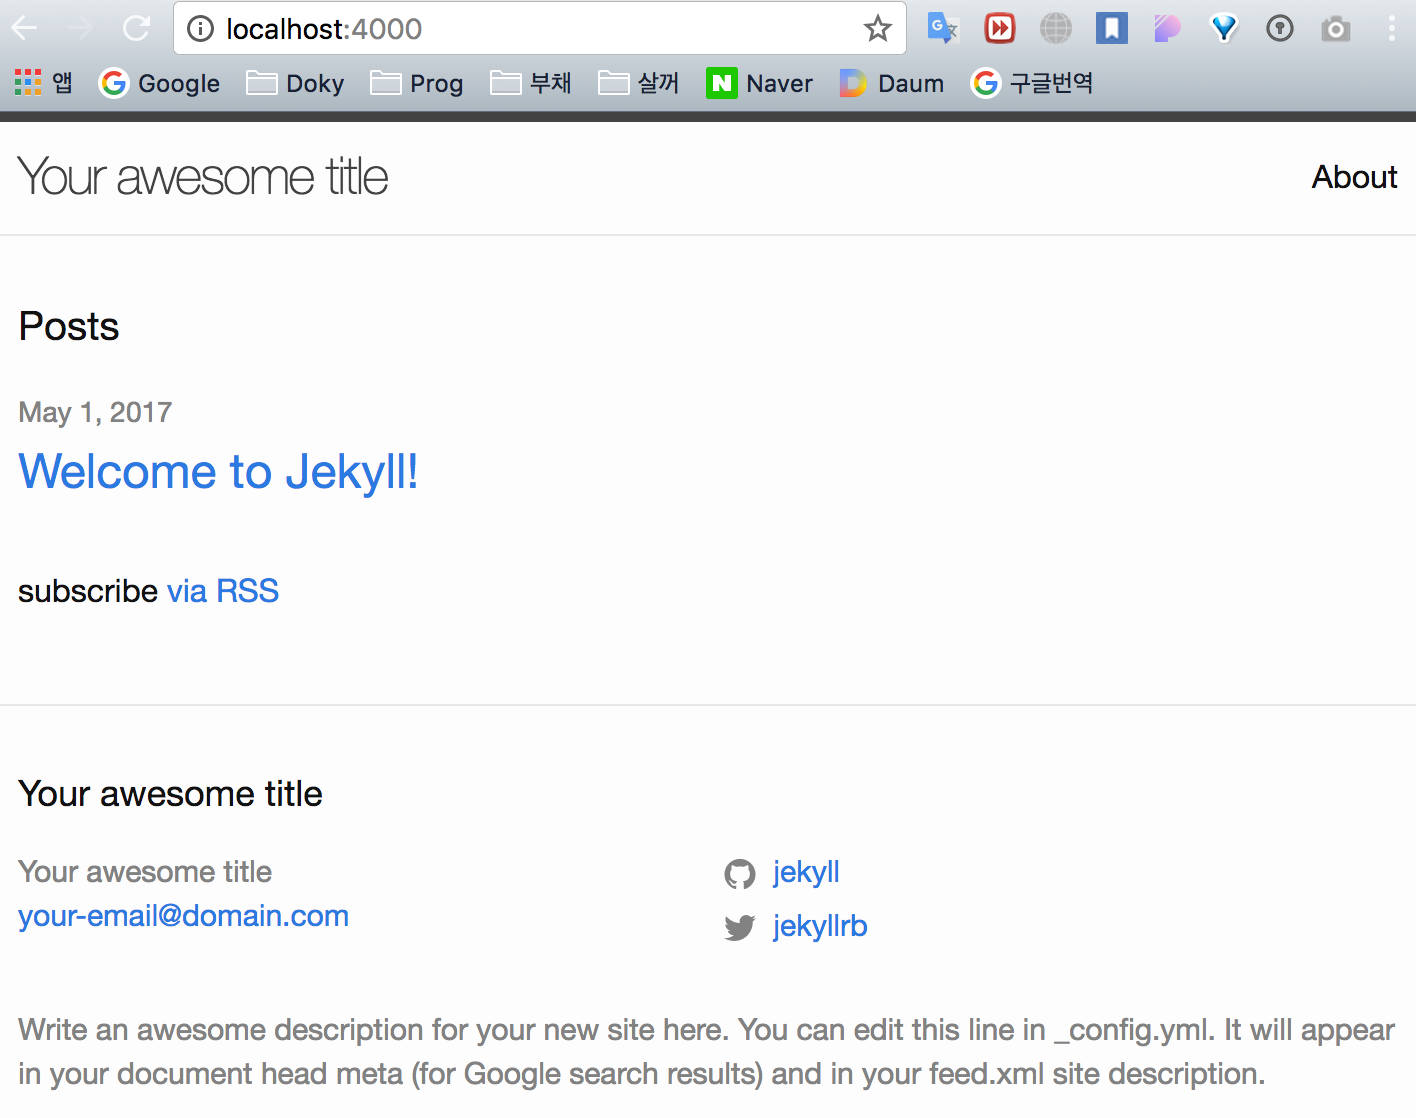
localhost:4000 으로 접속하면 생성된 지킬 사이트를 볼 수 있다.
디렉조리 구조
├── Gemfile
├── Gemfile.lock
├── _config.yml : 전역 환경설정 파일
├── _posts
│   └── 2017-05-01-welcome-to-jekyll.markdown
├── _site : 제네레이트된 블로그가 위치하는 곳
│   ├── about
│   │   └── index.html
│   ├── assets
│   │   └── main.css
│   ├── feed.xml
│   ├── index.html
│   └── jekyll
│       └── update
│           └── 2017
│               └── 05
│                   └── 01
│                       └── welcome-to-jekyll.html
├── about.md
└── index.md
공식 사이트에 나온 트리 구조와 직접 생성했을때 나오는 구조는 차이가 있었다. 일단 시작이니까 더 진행해본다.
터미널에서 tree를 보고싶다면?
brew install tree
github 연결하기
생성한 블로그 이름과 동일한 이름([사용자이름].github.com)으로 온라인 저장소 생성하고 remote 한다.
git init
git remote add origin [저장소URL]
git add .
git commit -m "Initialize Blog
git push origin master
생성된 블로그는 http://[사용자이름].github.io 으로 접속하면 확인할 수 있다. 경우에 따라 몇 분이 걸릴 수 있다.(반드시 사용자 이름과 일치해야한다.)
필수 엔진 설치
마크다운 프로세싱 엔진
gem install kramdown
Pygments. 코드를 이쁘게 보여준다
easy_install Pygments
포스팅하기
_post 파일안에 YYYY-MM-DD-[글 제목].md 형식으로 커밋, 푸쉬하면 됨.
테마 적용하기
참고 사이트
https://nolboo.kim/blog/2013/10/15/free-blog-with-github-jekyll/
https://brunch.co.kr/@hee072794/39
Let me know what you think of this article in the comment section below!