OIDC Test with Keycloak on Local
7 minute read
OIDC(OpenID Connect)
OIDC is an identity verification layer built on top of the OAuth 2.0 protocol. It’s a protocol that allows clients to verify the identity of end-users through an authentication server and obtain basic profile information about the user.
- https://openid.net/developers/how-connect-works/
- https://openid.net/specs/openid-connect-core-1_0.html
Key Concepts
- Key Participants
- OP(OpenID Provider): Server that authenticates users and provides claims
- RP(Relying Party): Client application that uses OP to authenticate users
- End User: The subject requesting authentication
- Token types
- ID Token: JWT containing user identity information
- Access Token: Credentials for API access
- Refresh Token: Token used to obtain new access tokens
- Endpoints
- Authorization Endpoint: Handles user authentication
- Token Endpoint: Handles token issuance
- UserInfo Endpoint: Provides claims about authenticated user
- Flows
- Authorization Code Flow: Most secure standard flow
- Implicit Flow: Simplified browser-based flow
- Hybrid Flow: Combination of both
- Claims
- Standard Claims: sub, name, email, etc.
- ID Token Claims: iss, aud, exp, etc.
- UserInfo Claims: Additional user attributes
- Security Considerations
- Token signature validation
- Mandatory TLS usage
- CSRF prevention
- State parameter validation
- Scopes
- opdnid: Mandatory OIDC scope
- profile: Basic profile information
- email: Email information
- address: Address information
- phone: Phone number information
Keycloak
Keycloak is an open-source Identity and Access Management(IAM) solution developed by RedHat.
- Complete IAM Functionality
- Single Sign-On(SSO)
- OIDC/OAuth 2.0 support
- SAML 2.0 support
- Social login integration
- Multi-Factor Authentication (MFA) support
- Advantages as a Practice Environment
- Free open-source
- Easy installation/execution with Docker
- Web-based admin console
- Detailed documentation
- Widely used in actual enterprises
- Enterprise-grade Features
- User/Group management
- Role-based access control
- Session management
- Token customization
- Audit logging
Keycloak Server
docker run -p 8080:8080 -e KEYCLOAK_ADMIN=admin -e KEYCLOAK_ADMIN_PASSWORD=admin quay.io/keycloak/keycloak:latest start-dev
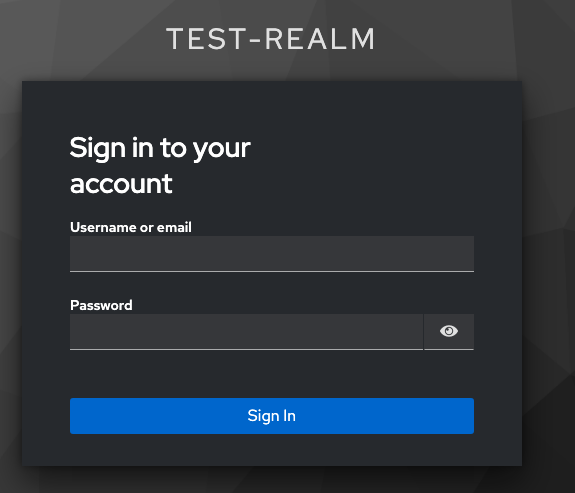
Access the Keycloak management console
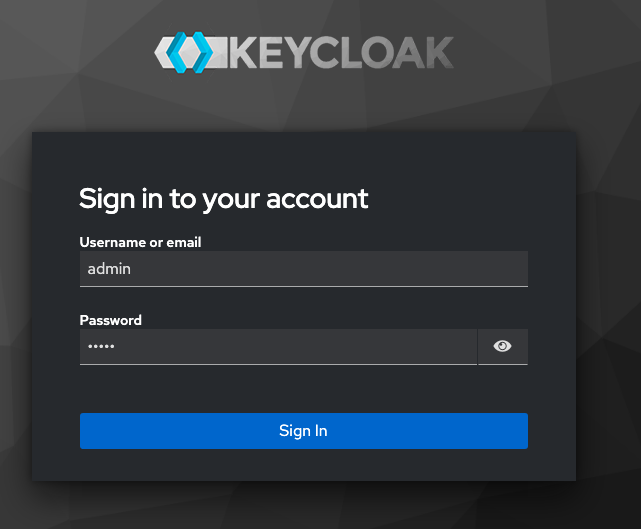
- http://localhost:8080
- Administration Console
- Username: admin, Password: admin
Create a Realm
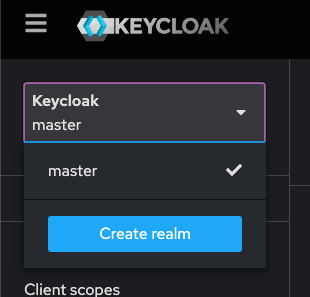
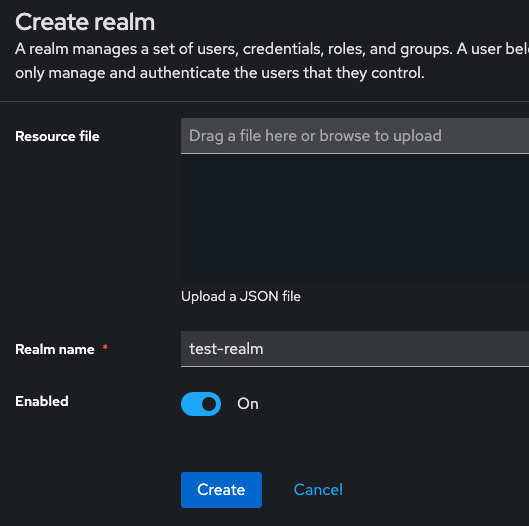
- Create Realm
- Realm name: test-realm
Create a Client
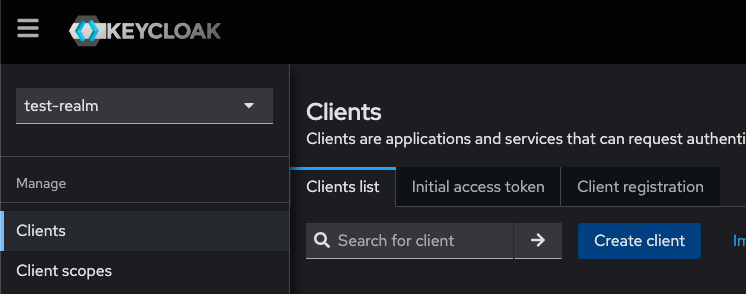
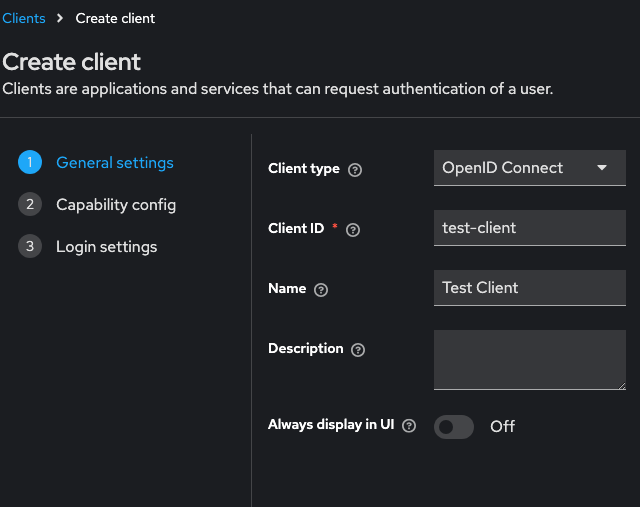
- Client Type: OpenID Connect
- Client ID: test-client
- Name: Test Client
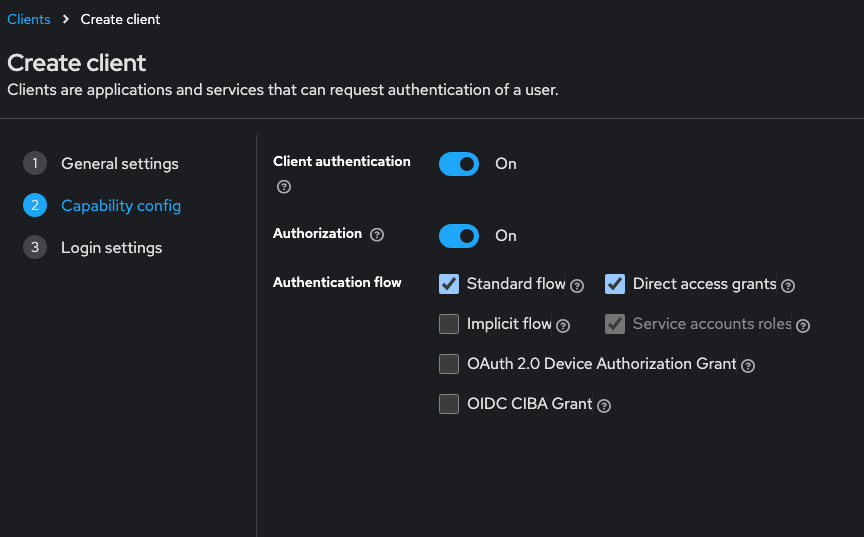
- Client authentication: On
- Authorization: On
- Authentication flow:
- Standard flow: on (OpenID Connect 표준 인증 흐름)
- Implicit flow: off
- Direct access grants: on
- Service accounts roles: on (option)
- OAuth 2.0 Device Authorization Grant: off
- OIDC CIBA Grant: off
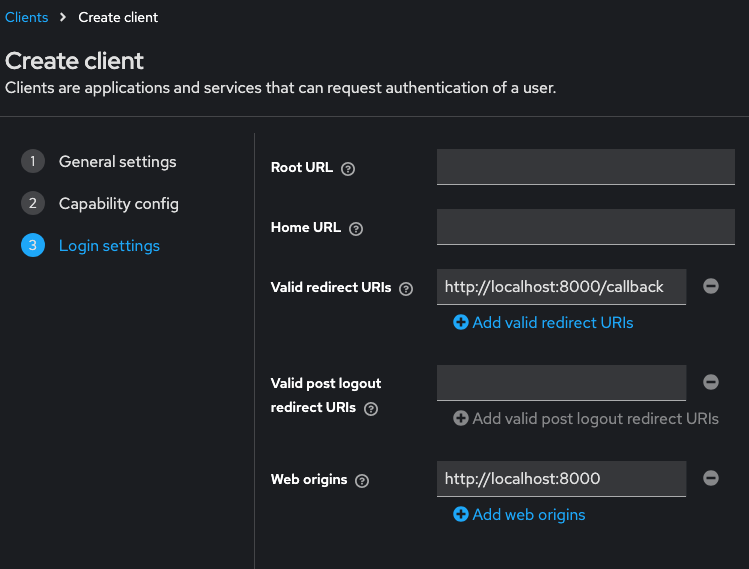
- Valid redirect URIs:
- http://localhost:8000/callback
- http://localhost:8000/
- Web origins: http://localhost:8000
Check Client Credentials
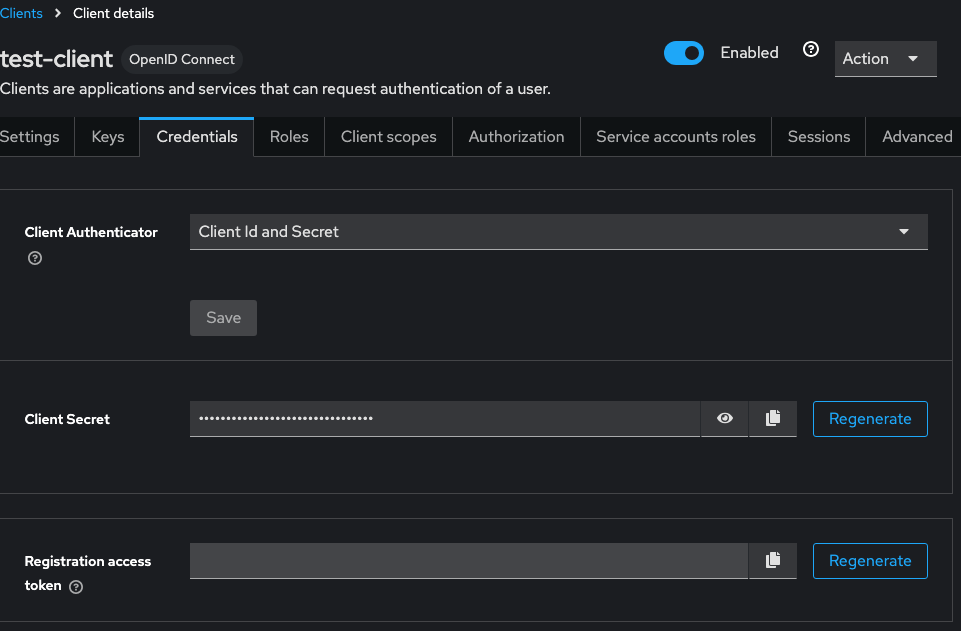
- Client > test-client > Credentials > Client Secret
Create a test user
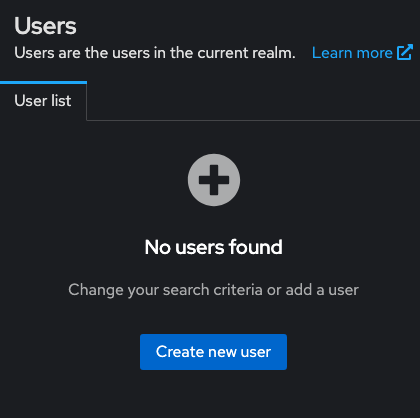
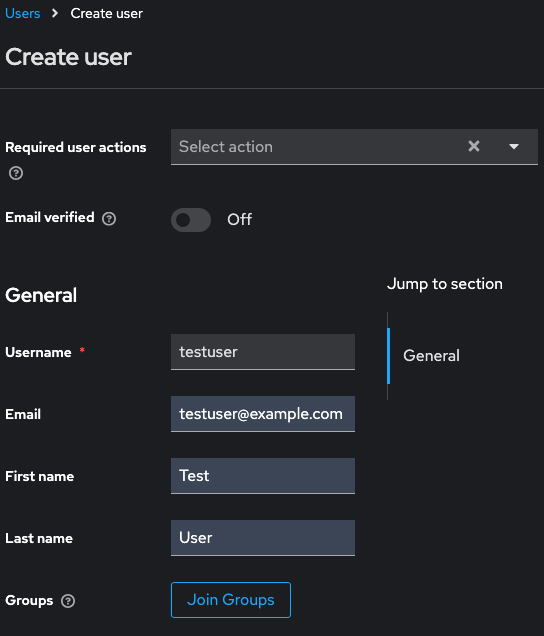
User > Add User
- Username: testuser
- Email: testuser@example.com
- First Name: Test
- Last Name: User
- Create
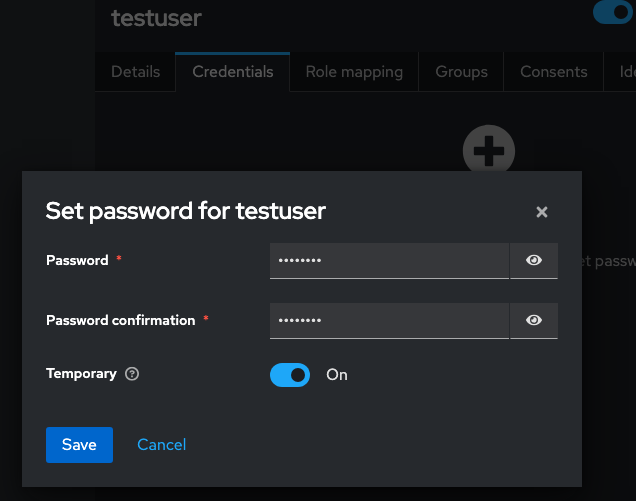 Set test user password
- Credentials
- Set password
- Temporary: off
Test client application
- https://github.com/KimDoKy/oidc-test-client
Writing .env
PORT=8000
ISSUER_BASE_URL=http://localhost:8080/realms/test-realm
CLIENT_ID=test-client
CLIENT_SECRET=<your_client_secret>
BASE_URL=http://localhost:8000 SECRET=some-long-random-string
require('dotenv').config();
const express = require('express');
const { auth, requiresAuth } = require('express-openid-connect');
const app = express();
const config = {
authRequired: false,
auth0Logout: true,
baseURL: process.env.BASE_URL,
clientID: process.env.CLIENT_ID,
issuerBaseURL: process.env.ISSUER_BASE_URL,
secret: process.env.SECRET,
clientSecret: process.env.CLIENT_SECRET,
idpLogout: true,
authorizationParams: {
response_type: 'code',
scope: 'openid profile email'
}
};
app.use(auth(config));
app.get('/', (req, res) => {
if (req.oidc.isAuthenticated()) {
const idToken = req.oidc.idToken;
const accessToken = req.oidc.accessToken;
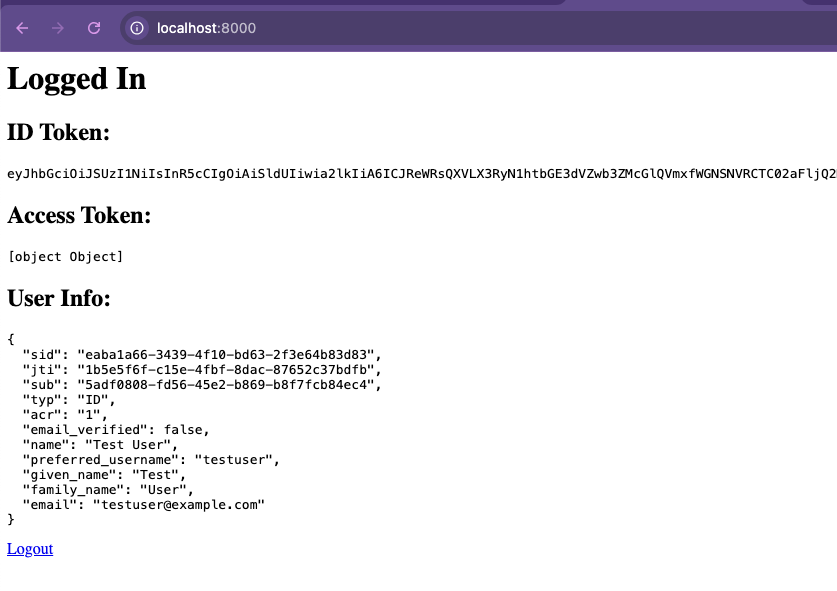
res.send(`
<h1>Logged In</h1>
<h2>ID Token:</h2>
<pre>${idToken}</pre>
<h2>Access Token:</h2>
<pre>${accessToken}</pre>
<h2>User Info:</h2>
<pre>${JSON.stringify(req.oidc.user, null, 2)}</pre>
<a href="/logout">Logout</a>
`);
} else {
res.send('<a href="/login">Login</a>');
}
});
app.get('/profile', requiresAuth(), (req, res) => {
res.send(`
<h1>Protected Profile</h1>
<pre>${JSON.stringify(req.oidc.user, null, 2)}</pre>
`);
});
app.get('/token-info', requiresAuth(), (req, res) => {
res.json({
idToken: req.oidc.idToken,
accessToken: req.oidc.accessToken,
user: req.oidc.user,
claims: req.oidc.idTokenClaims
});
});
const port = process.env.PORT || 8000;
app.get('/profile', auth(), (req, res) => {
res.send(`
<h1>Protected Profile</h1>
<pre>${JSON.stringify(req.oidc.user, null, 2)}</pre>
`);
});
app.listen(process.env.PORT, () => {
console.log(`Server running on port ${process.env.PORT}`);
});
npm i
node app.js
-
/token-info
-
/profile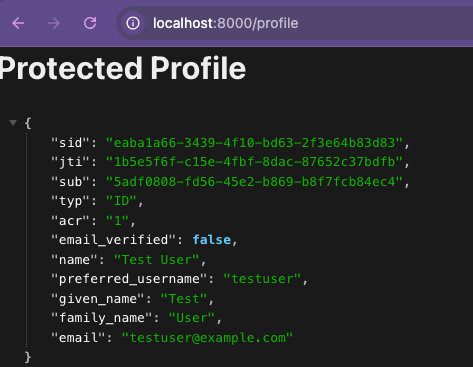
-
check JWT
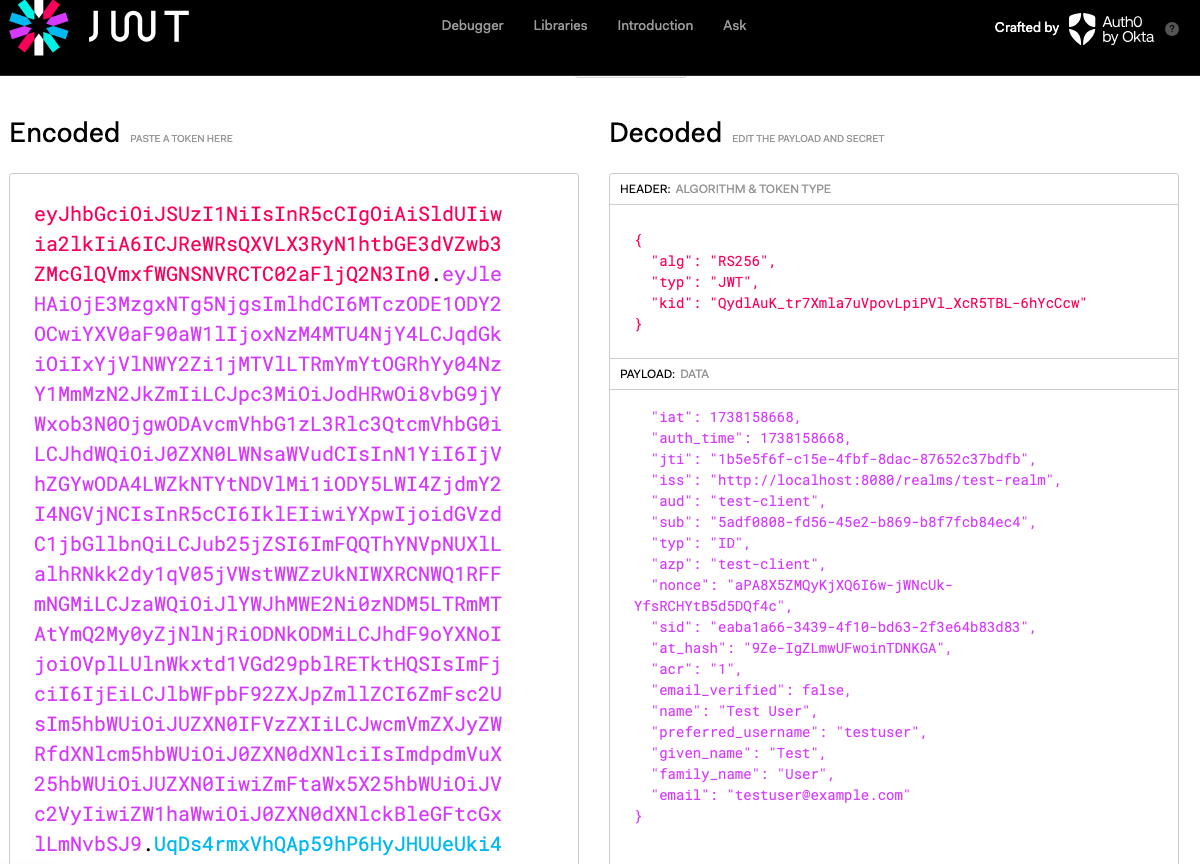
iss: Issuer(토큰 발급자)
sub: Subject(사용자 고유 식별자)
aud: Audience(토큰 수신자(클라이언트))
exp: Expiration Time(만료시간)
iat: Issued At(발급시간)
auth_time: The time the user was authenticated(사용자가 인증된 시간)
azp: Authorized Party(토큰을 요청한 클라이언트)
at_hash: Access Token Hash
acr: Authentication Context Class Reference
jti: JWT ID(토큰의 고유 식별자)
Additional Learning
- Exploring Keycloak Settings
- Role Creation and Assignment
- Client Scope Configuration
- Protocal Mapper Configuration
- Authentication Flow Setup
- Token Related Settings
- Token Expiration Time Configuration
- Regresh Token Usege
- Token Signing Algorithm Configuration
Testing
- Various Scope Settings and Testing
- Token Renewal Process Implementation
- Adding User Attuributes and Including in Token
- Role-Based Access Control Implementation
- Multiple Client configuration and Testing
Step-by-step practice
- Role Management
- Create roles for differernt access levels
- Assign roles to users and groups
- Test role inheritance and hierarchies
- Implement role-based authorization
- Client Scope Settings
- Configure default scopes
- Create custom scopes
- Map claims to scopes
- Test scope-based access control
- Protocol Mapper Setup
- Create custom mappers
- Configure user attribute mapping
- Set up group membership mapping
- Test token claim inclusion
- Authentication Flow Customization
- Modify default authentication flows
- Add custom authentication requirements
- Implement MFA flows
- Test various authentication scenarios
- Token Management
- Set token lifetimes
- Configure refresh token behavior
- Implement token rotation
- Test token validation and renewal
- User Attribute Management
- Add custom user attributes
- Map attributes to tokens
- Test attribute-based access
- Implement dynamic attribute handling
- Multi-Client Testing
- Set up multiple client applications
- Configure different client types
- Test cross-client authentication
- Implement client-specific policies
- Security Testing
- Test token signature validation
- Implement CSRF protection
- Test SSL/TLS requirements
- Validate security configurations
I feedback.
Let me know what you think of this article in the comment section below!
Let me know what you think of this article in the comment section below!
comments powered by Disqus